
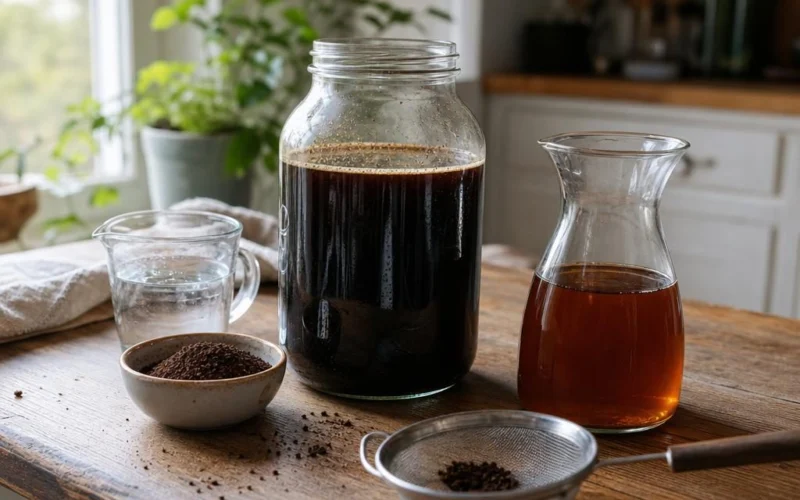
For cold brew concentrate, start with a 1:5 coffee-to-water ratio by weight: 200 g coffee per 1 liter of water. For ready-to-drink cold brew, start at 1:12: about 83 g coffee per 1 liter of water. Concentrate is diluted after brewing, while ready-to-drink cold brew is meant to be served after filtering; both ratios are starting points, not universal rules.
Choose Between Cold Brew Concentrate and Ready-to-Drink
For cold brew concentrate, start with a 1:5 coffee-to-water ratio by weight: 200 g coffee per 1 liter of water. For ready-to-drink cold brew, start with 1:12: about 83 g coffee per 1 liter of water; concentrate is diluted after brewing, while ready-to-drink cold brew is intended to serve after filtering. These are practical starting points, not universal standards.
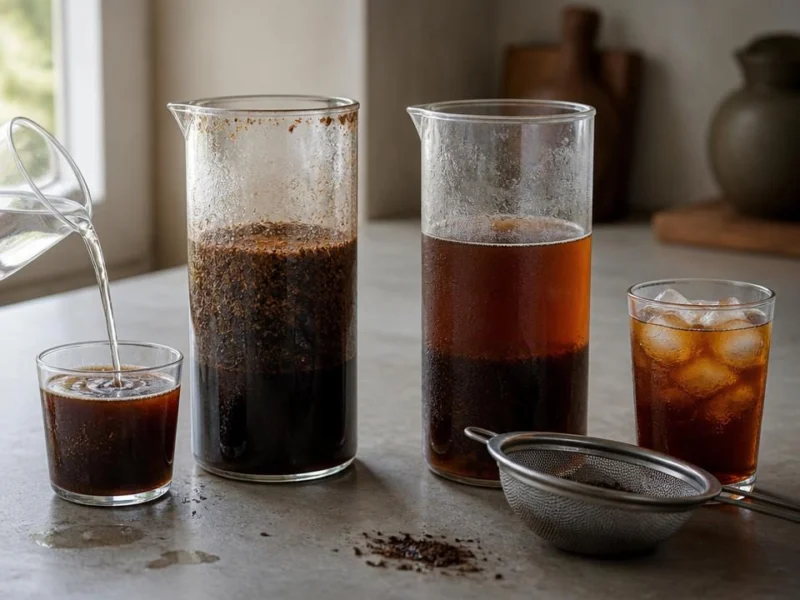
Choose Your Cold Brew Ratio
- Concentrate: 1:4–1:6; start at 1:5, or 200 g coffee per liter of water.
- Ready-to-drink: 1:10–1:15; start at 1:12, or about 83 g coffee per liter of water.
- Keep the measurements separate: the brewing ratio determines how you make the coffee; serving dilution determines how you drink concentrate.
Concentrate uses more coffee for the amount of brewing water and is meant to be mixed with water, milk, or another serving liquid. Ready-to-drink cold brew uses less coffee per amount of water, so it can usually be served after filtering. The boundary is flexible: a 1:8 batch, for example, can work as a light concentrate or a strong ready-to-drink brew depending on the coffee, steep time, and preferred serving strength.
Use These Starting Ratios
A cold brew ratio expresses the weight of coffee grounds divided by the weight of brewing water. For example, 1:5 means 1 part coffee grounds to 5 parts water. Use a digital scale for repeatable results.
| Ratio | Type or Use | Coffee per Liter of Water | Coffee per Quart of Water | Serving Note |
|---|---|---|---|---|
| 1:4 | Strong concentrate | 250 g | About 237 g | Dilute before drinking. |
| 1:5 | Practical concentrate starting point | 200 g | About 189 g | Works well for water or milk drinks. |
| 1:6 | Moderate concentrate | About 167 g | About 158 g | May need less dilution. |
| 1:8 | Light concentrate or strong ready-to-drink | 125 g | About 118 g | Taste before deciding whether to dilute. |
| 1:10 | Strong ready-to-drink | 100 g | About 95 g | Suitable for serving over moderate ice. |
| 1:12 | Practical ready-to-drink starting point | About 83 g | About 79 g | Serve as-is or adjust lightly after tasting. |
| 1:15 | Lighter ready-to-drink | About 67 g | About 63 g | A milder option. |
These are arithmetic conversions based on the stated ratios. A liter of water weighs about 1,000 g, while a U.S. quart holds about 946 mL, or roughly 946 g of water.
Volume Measures When You Do Not Have a Scale
Water can be measured accurately by volume: 1 liter is about 4.2 U.S. cups, and 1 quart is about 0.95 liter. Ground coffee is less predictable because grind size, roast level, and bean density affect how much a given volume weighs.
Use a scale for coffee whenever possible. “1 cup of coffee grounds” is not a fixed weight, so cup measures should not replace gram measurements when testing or repeating a cold brew recipe.
How to Make Cold Brew With the Ratio You Choose
You need coffee, water, a brewing container, a filter, and ideally a scale and grinder. The method is the same whether you choose a concentrate or ready-to-drink ratio.
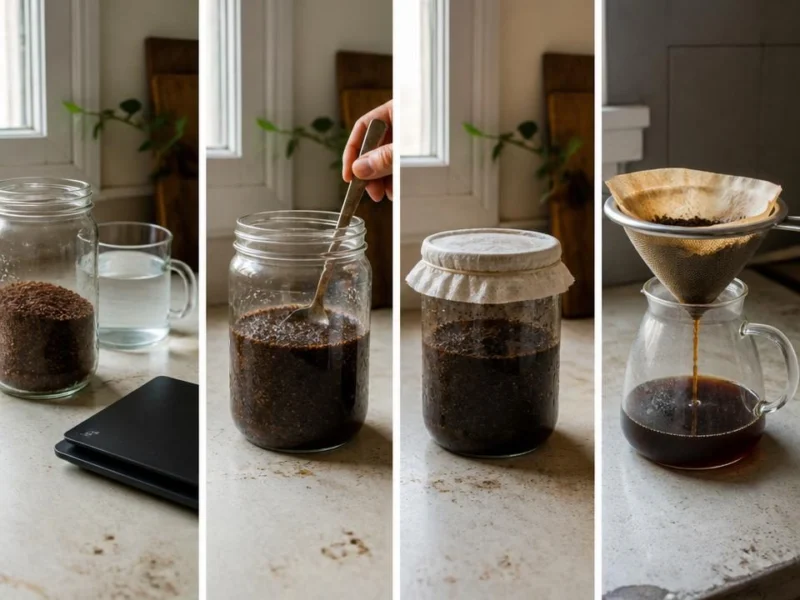
- Grind whole beans coarse or medium-coarse.
- Weigh the coffee grounds and brewing water for your chosen ratio.
- Add the grounds to a cold brew maker, French press, large jar, or other covered container.
- Pour in enough water to fully saturate the grounds, then gently stir or swirl so no dry pockets remain.
- Cover and steep for about 8 to 24 hours.
- Filter slowly and thoroughly into a clean container.
- Taste the coffee over the amount of ice you would normally use.
- Dilute concentrate before serving. Serve ready-to-drink cold brew as-is, or make a small adjustment after tasting.
OXO’s cold brew maker instructions use a 1:4 concentrate-style recipe, medium-to-coarse grounds, and a 12- to 24-hour steep. Equipment-specific recipes vary, but the same basic sequence—coarse grind, full saturation, steeping, and careful filtration—works across common home setups.
Room Temperature Versus Refrigerator Brewing
Room-temperature brewing commonly falls within an 8- to 24-hour range in manufacturer guidance. Toddy’s brewing instructions, for example, use room-temperature steeping within that range.
Refrigerator brewing can extract more slowly, so it may need additional time to reach a similar taste. Keep the same coffee-to-water ratio when comparing methods, and change only one variable at a time: temperature or steep time. Taste is the useful test here; there is no single best time for every bean and brewer.
Grind Size and Filtration
Coarse or medium-coarse grounds are the practical starting point for cold brew. Fine grounds can make filtration slow, leave more sediment in the cup, and contribute to a muddy texture. OXO also notes that finer grounds filter more slowly in its brewer instructions.
If your filter clogs or the coffee looks cloudy, do not immediately change the ratio. First check whether the coffee was ground too fine or whether the filter was overloaded. Letting the brew settle briefly and filtering it again can help recover a batch with excess sediment.
Dilute Cold Brew Concentrate Before Drinking
A brewing ratio and a serving dilution are separate measurements. A 1:5 concentrate does not mean you should drink it at a 1:5 serving ratio.
Start with 1 part concentrate to 2 parts water or milk. For a stronger drink, try 1 part concentrate to 1 part water or milk. For a lighter drink, use 1 part concentrate to 3 parts water or milk. Both OXO and Toddy use 1 part concentrate to 2 parts water or milk as a starting point in their recipe guidance.
Ice becomes added water only as it melts. A heavily iced drink can taste strong at first and noticeably weaker later, so taste your coffee with your normal amount of ice before deciding it needs more dilution.
Calculate the Final Effective Ratio
Final effective ratio = coffee used ÷ total water after brewing and dilution
For example, brew 200 g of coffee with 1,000 g of water at a 1:5 ratio. If you add 400 g of water when serving, the total water becomes 1,400 g.
200 g coffee ÷ 1,400 g total water = approximately 1:7 by coffee-to-total-water weight.
This is a practical calculation, not a laboratory measurement. Some brewing water remains trapped in the grounds after filtering, so the amount of liquid you pour into a glass will be lower than the original water weight.
Fix Weak, Harsh, Muddy or Over-Iced Cold Brew
| Problem | Likely Cause | Immediate Action | Next-Batch Adjustment |
|---|---|---|---|
| Weak | Too much dilution, too little coffee, short steeping, or excessive ice melt | Use less dilution water and taste again; reduce ice melt. | Use a stronger ratio or adjust steep time, changing one variable at a time. |
| Harsh, bitter, or woody | Overly long steep, fine grind, or overly strong extraction | Dilute with water or milk; do not continue steeping. | Shorten the steep or use a coarser grind. |
| Muddy or difficult to filter | Grounds are too fine or the filter is overloaded | Let sediment settle, then filter again through a suitable filter. | Use coarser grounds and avoid compressing the coffee bed. |
| Too strong after serving | Concentrate was not diluted enough or there is too little ice | Add water or milk. | Start with more dilution, such as 1 part concentrate to 3 parts liquid. |
| Too weak after icing | Excessive ice melt or too much serving dilution | Add a small amount of concentrate if available; otherwise use less ice. | Chill the coffee before pouring over ice or reduce dilution. |
The simple rescue rule is: too strong, add water or milk; too weak, reduce dilution or use more coffee next time; bitter or woody, shorten the steep or use a coarser grind.
Make the Next Batch More Predictable
Write down the coffee mass, water mass, grind setting, steep time, brewing temperature, and any final dilution. A small note makes it much easier to repeat a batch you liked—or diagnose one you did not.
- Change one variable at a time.
- Taste the finished coffee over your intended amount of ice.
- Use the ratio ranges as starting points, since bean type, roast, water, grind, and preference affect perceived strength.
- Do not estimate caffeine from the brewing ratio alone; coffee dose, extraction, and serving size all matter.
Cold brew may taste different from iced hot coffee, but broad claims that it is always sweeter, less acidic, or smoother do not hold across every recipe. The Specialty Coffee Association’s discussion of cold-versus-iced coffee sensory analysis highlights why brew ratio, time, temperature, and concentration need to be controlled when comparing flavor.